School Stool

With no prior experience in welding, Joey’s initial venture into this project was slightly daunting. However, with some guidance by his professor through an informative group session, he managed to steer clear of the “puddles” and stick weld in a satisfactory manner.
The project is to construct a steel-welded stool that can carry most everyone’s body weight. Also included was a wood scrap top for greater comfort than sitting on steel.
With stick welding, you use an alternating current source, which in this case was an amperage generator with cables. One cable from the generator hooked onto the welding area (table), the other was to hold 6130 welding rods.
First welded was the base of the stand or seat square, where Joey welded one six inch piece to another.

Following the completion of the base, the legs were the next step: attaching one six inch steel rod to a two foot one, then repeating once more.
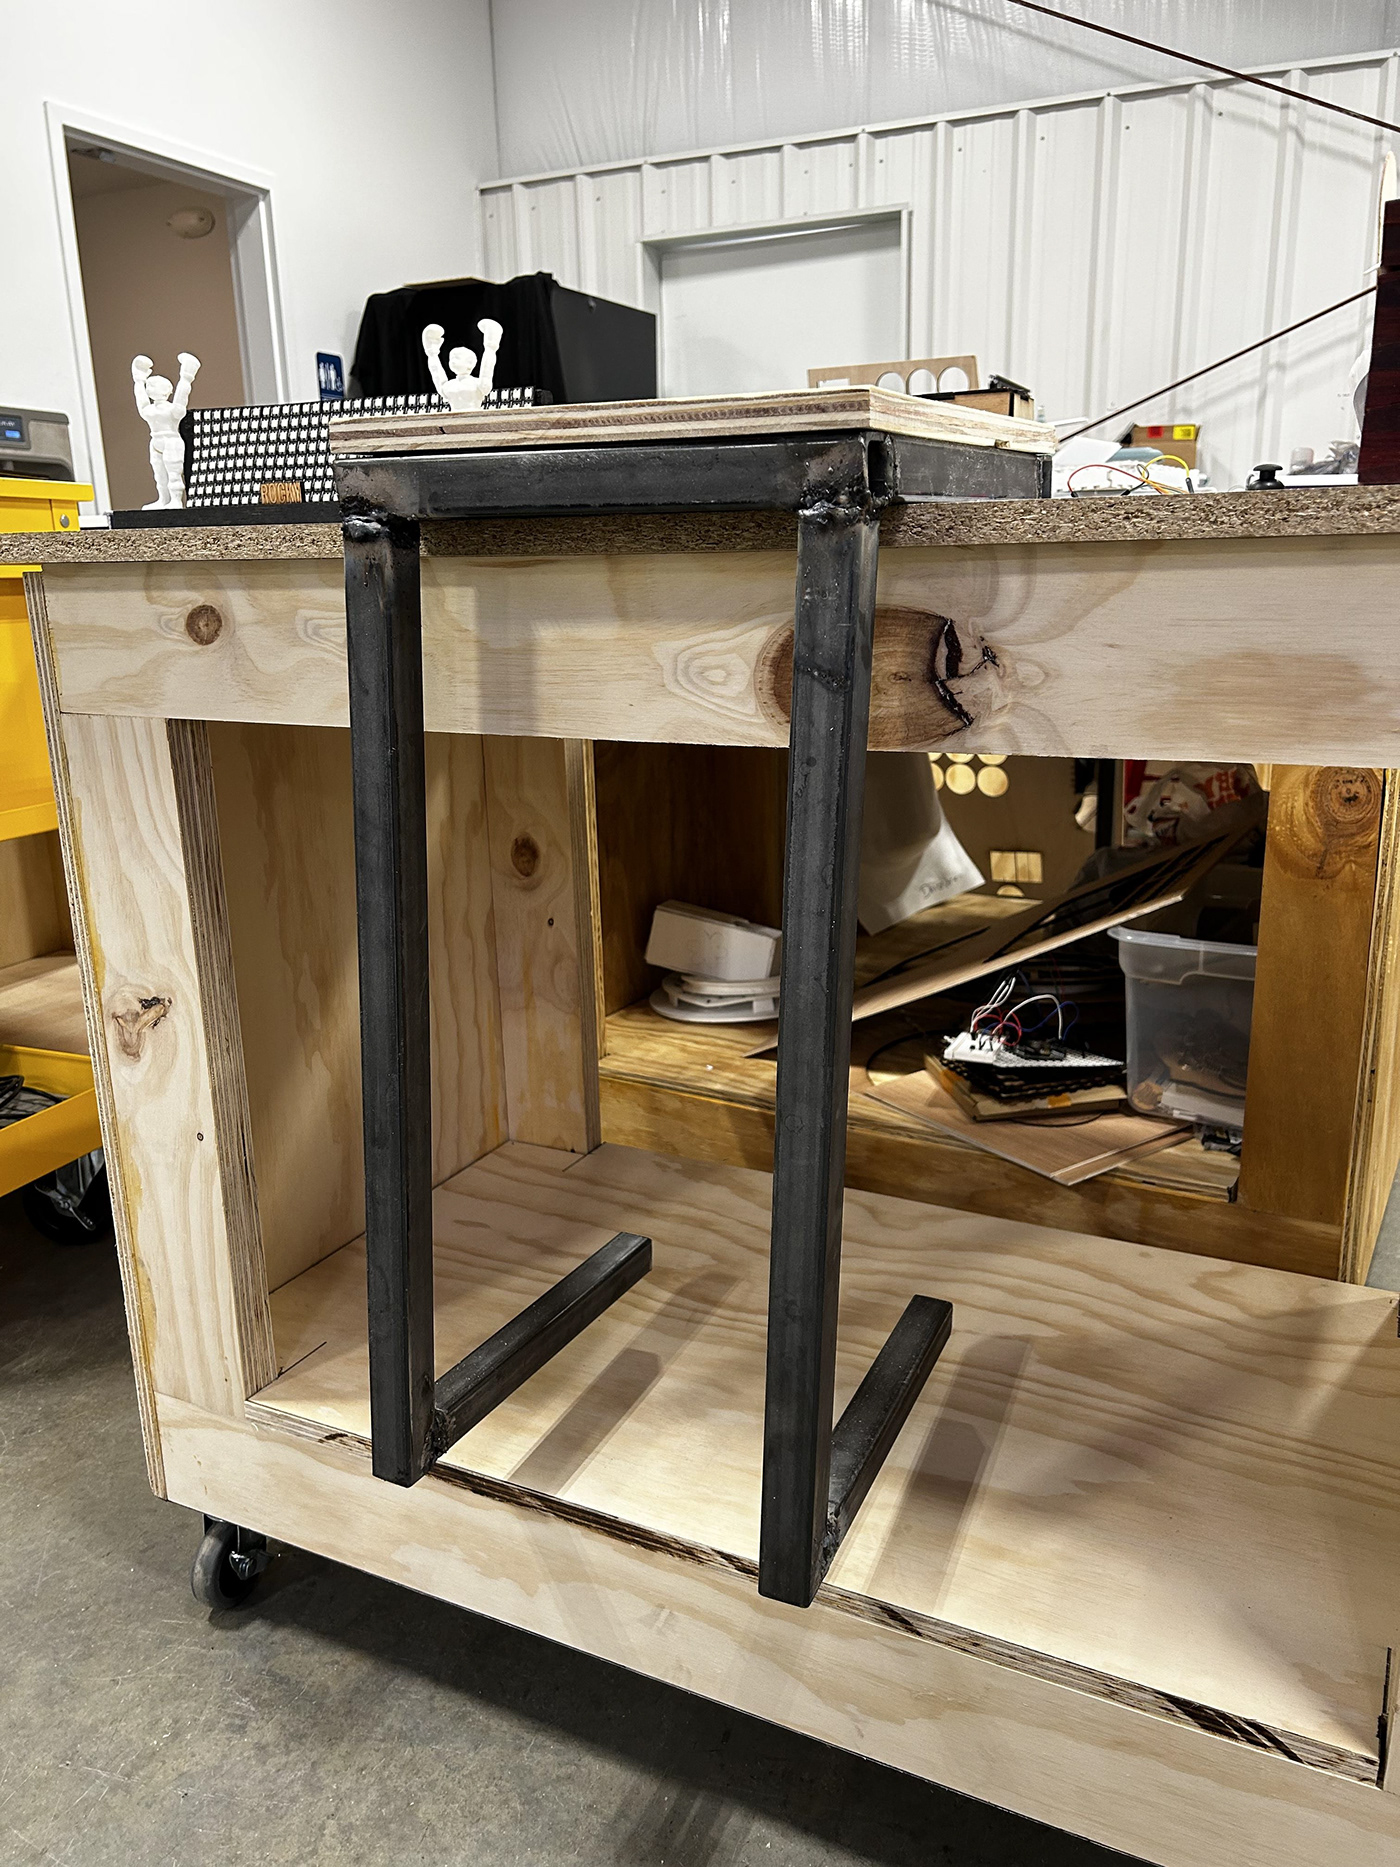
For the attaching of the legs to the base, find ground space or a sizable table area and set the base against one of the legs to where the leg is at a corner; repeat this to the other corner with the leg being parallel and in the same direction.

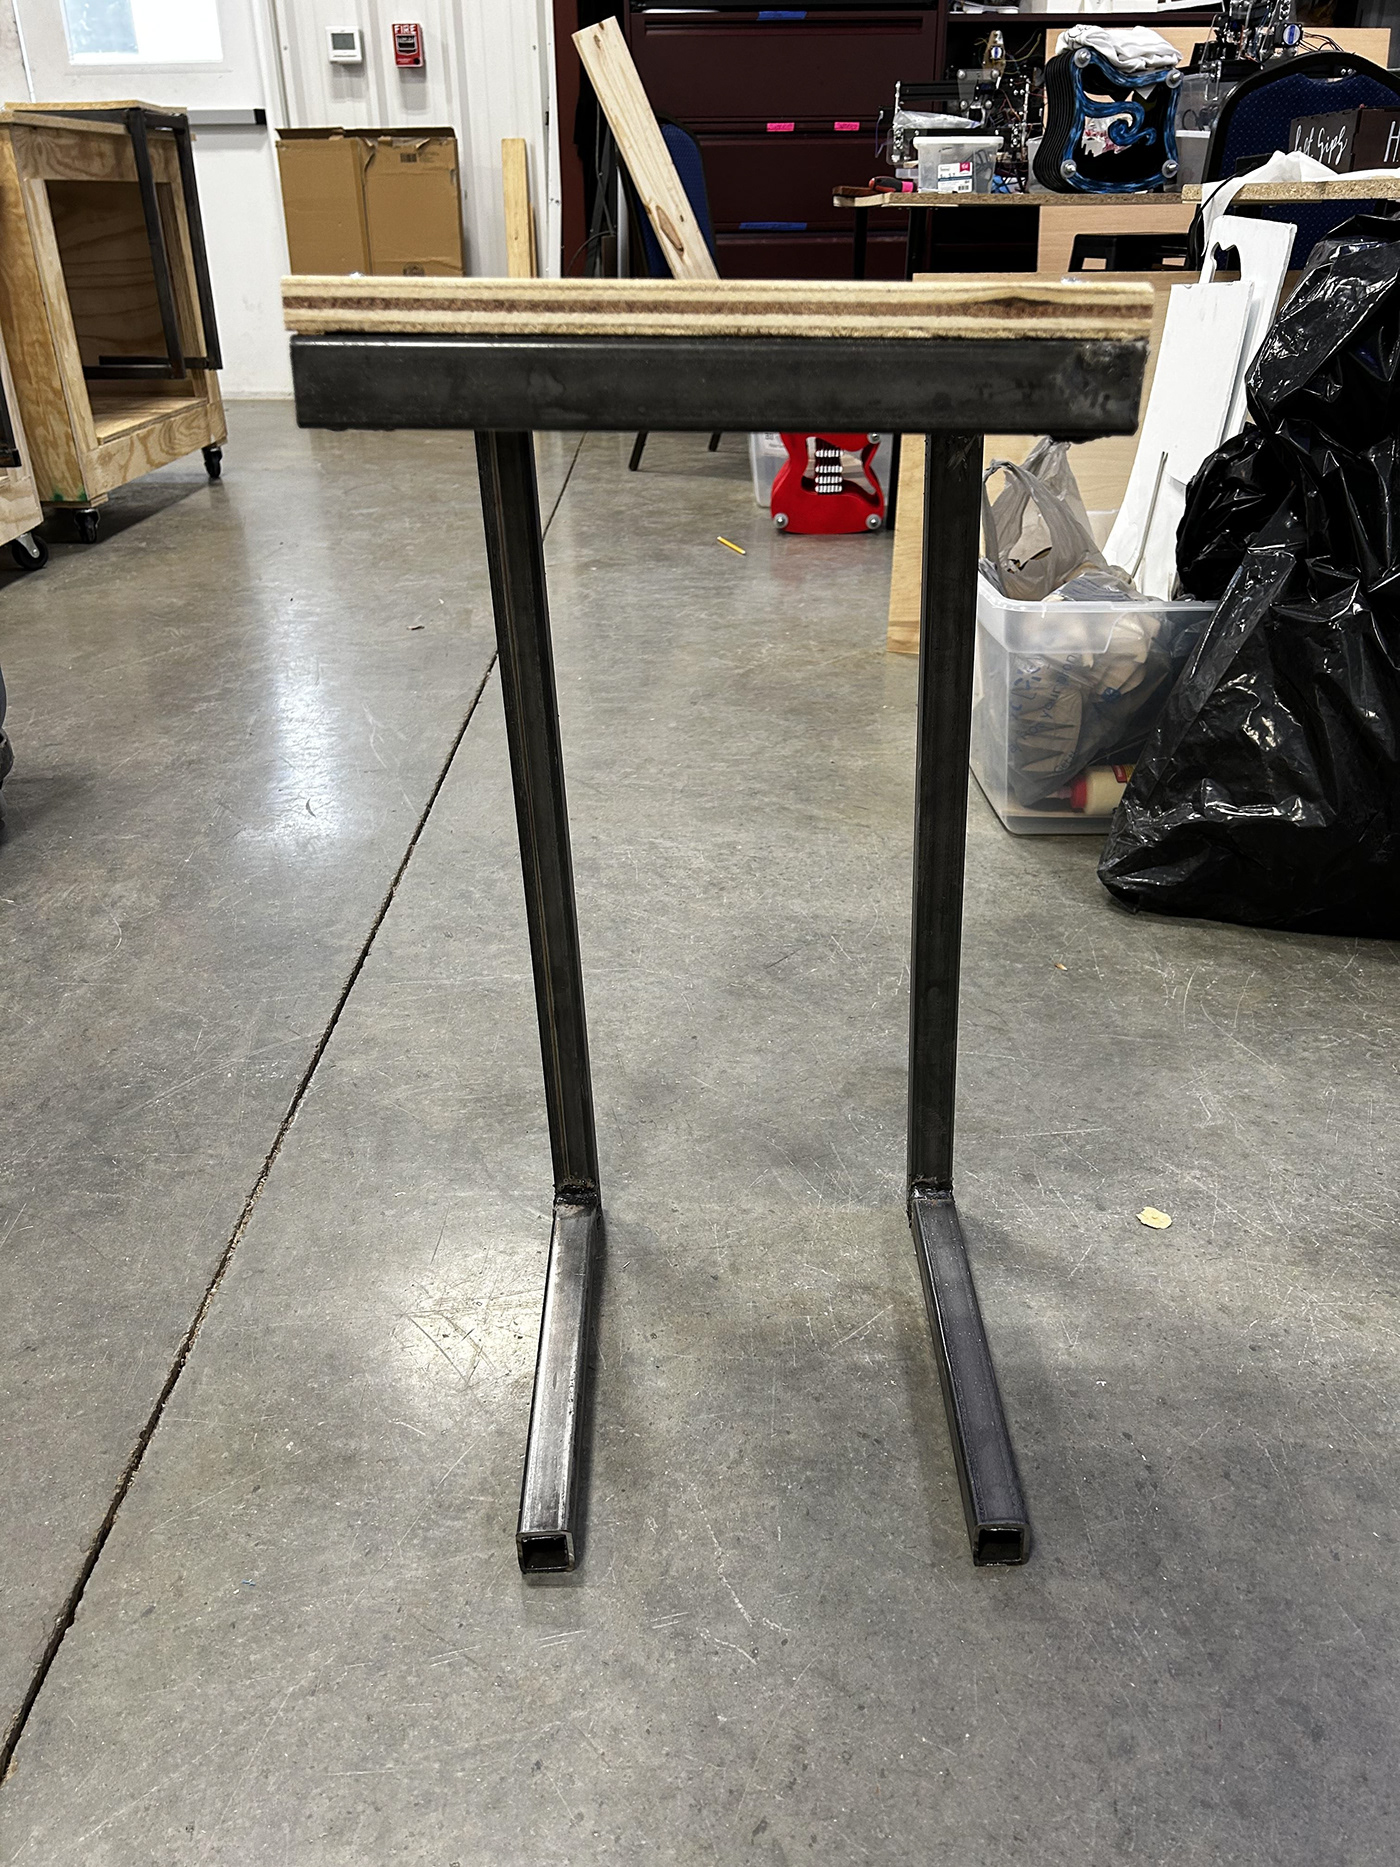
For the final step, attach a piece of wood to the top of the square base and drill in using self-drilling lath screws…Joey made pilot holes with a medium-sized drill bit through the wood, but not into the steel base—this was prior to drilling the screws in to the corners.
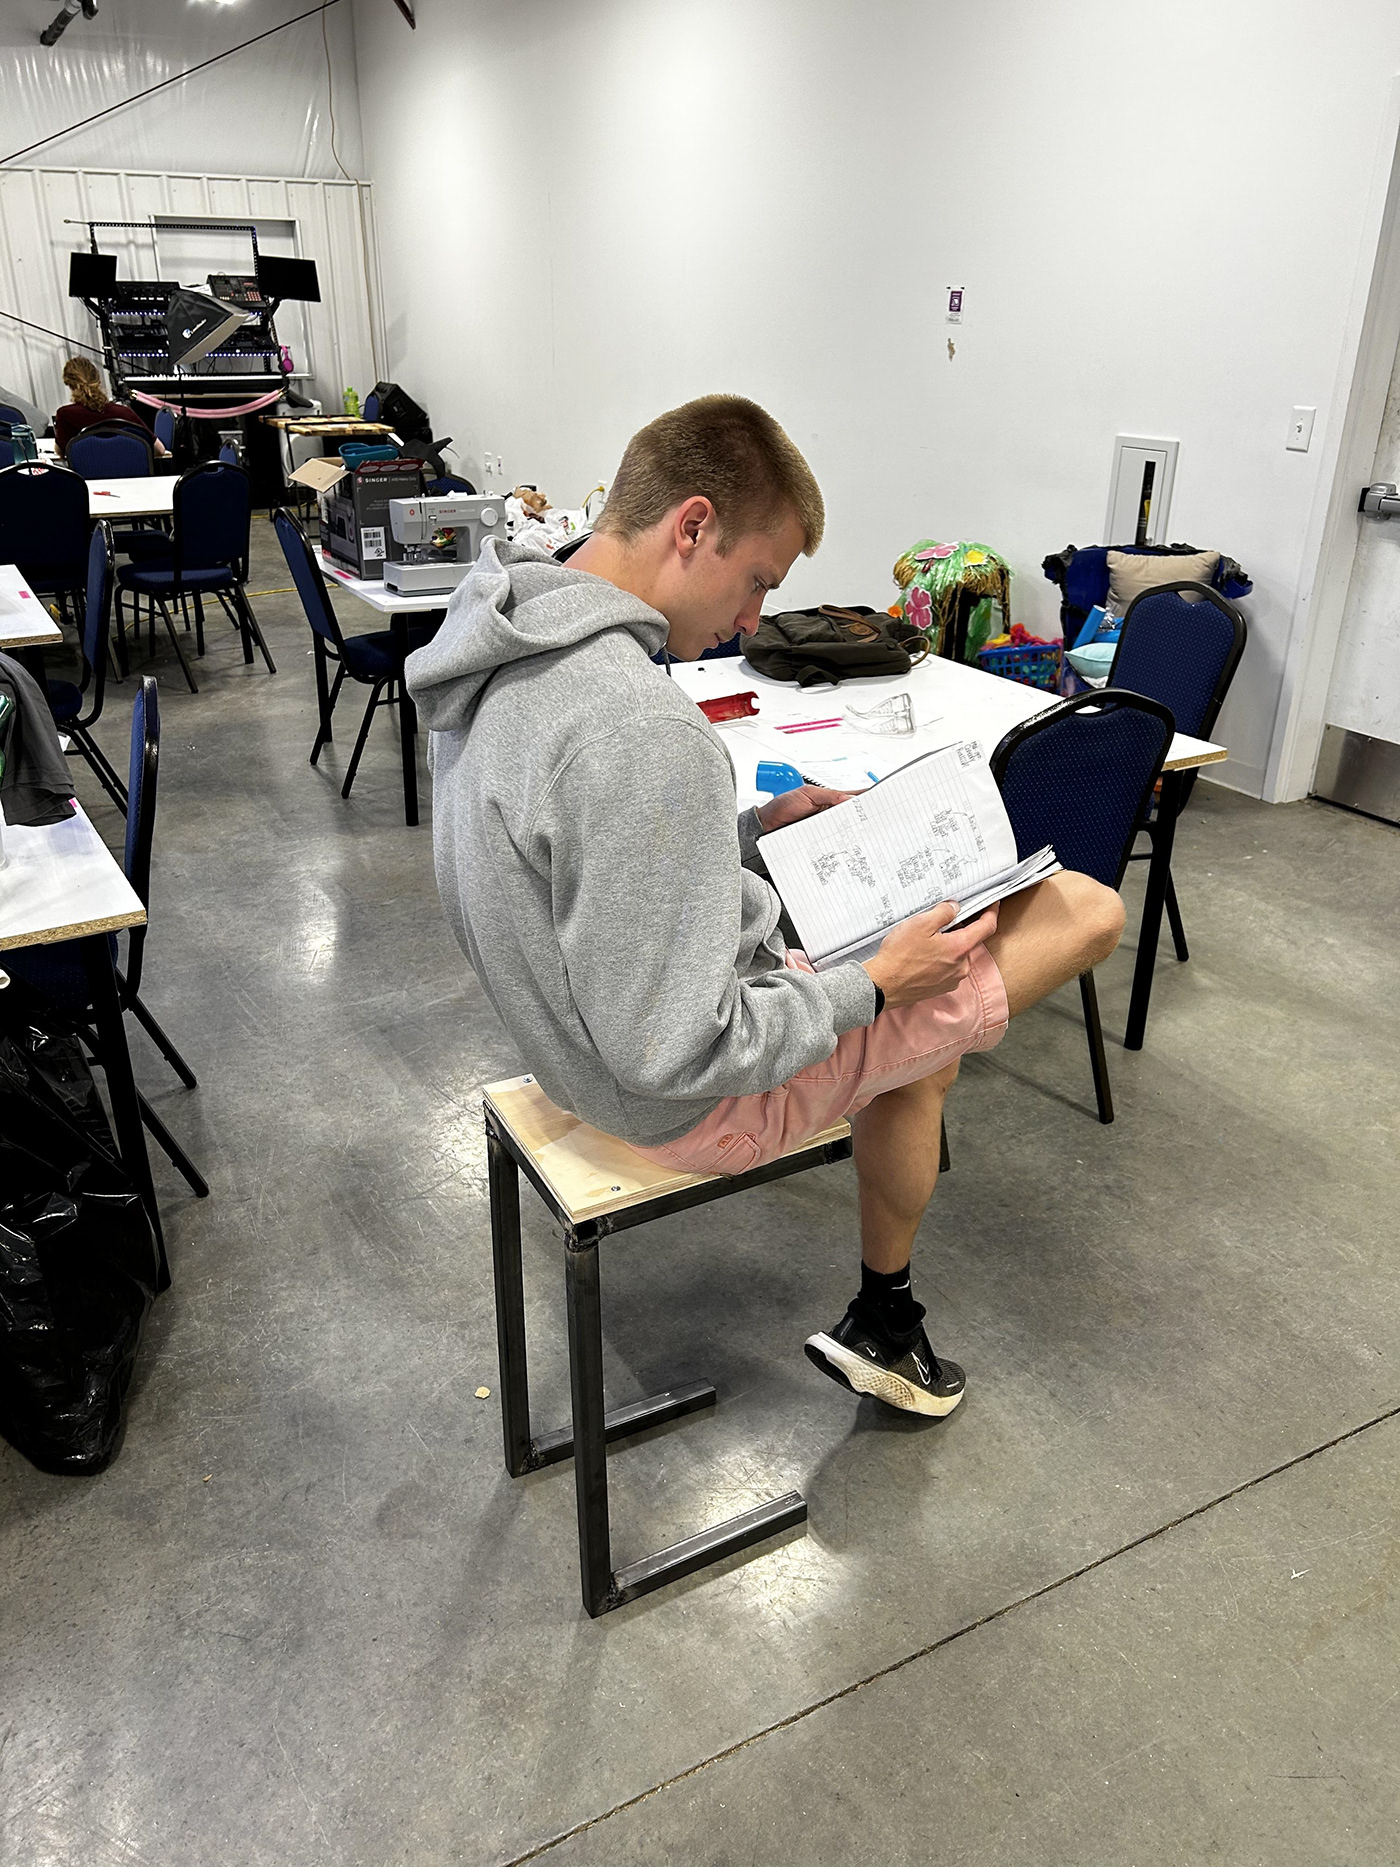
Joey’s finished School Stool, which corresponds with his CaRT


